Introduction
Making leather shoes is an art that blends craftsmanship, creativity, and functionality. This guide walks you through the entire process, from selecting materials to the final touches, ensuring you have a solid understanding of each step involved in how to make leather shoes.
Understanding Leather Types
Choosing the Right Leather
Before you start making leather shoes, it’s crucial to understand the different types of leather available. Each type has unique qualities that affect the look, feel, and durability of your shoes. Common leather types include full-grain, top-grain, corrected-grain, and suede.
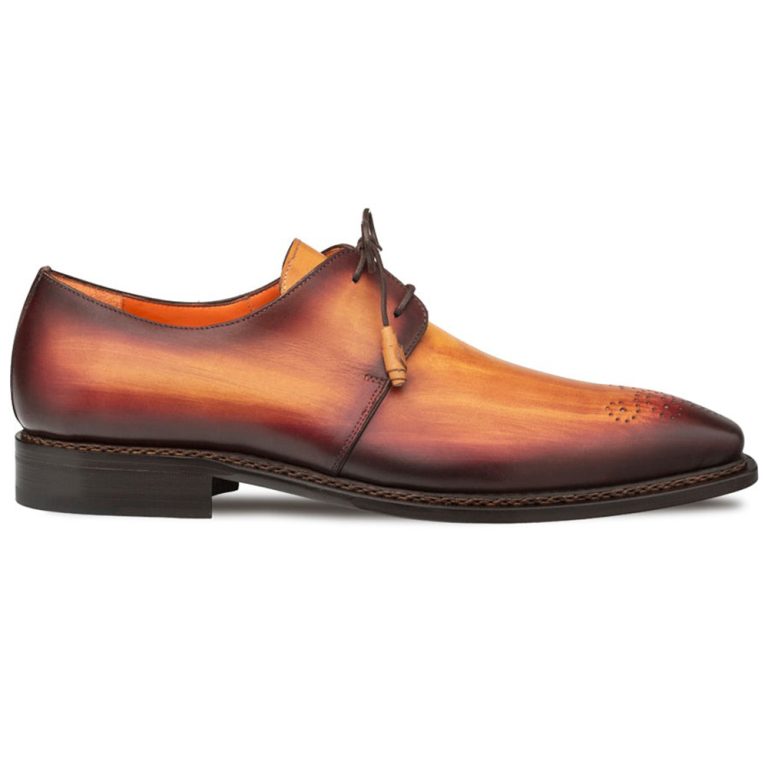
Full-grain leather is the highest quality leather. It retains the natural texture and imperfections of the hide. This type of leather develops a beautiful patina over time, making it ideal for high-end shoes. Top-grain leather is slightly less durable than full-grain but still offers a sophisticated look. It undergoes a process that removes some of the natural grain, resulting in a smoother finish.
Corrected-grain leather is often less expensive. It has been sanded and treated to remove imperfections. While it can look good, it doesn’t have the same durability as the higher grades. Suede is another popular choice, known for its soft texture. However, it is less water-resistant and more prone to staining, making it suitable for casual footwear.
Sourcing Quality Materials
Once you have chosen the type of leather, it’s time to source your materials. Look for reputable suppliers that specialize in leather. Check their quality and ask for samples if possible. Aside from leather, you will also need a few other materials: lining leather, insoles, laces, and possibly embellishments like buckles or decorative stitching.
A good lining is essential for comfort. Choose a soft leather or a breathable fabric to line the inside of your shoes. Insoles are crucial for support and cushioning. They can be made from foam, leather, or gel materials. Pay attention to the thickness and flexibility, as these factors will affect the shoe’s overall comfort.
Tools for Shoe Making
To craft leather shoes, you need specific tools. A sharp knife is essential for cutting leather accurately. A cutting mat will protect your work surface and ensure clean cuts. A ruler and pencil help with measurements.
You will also need a hole punch for laces, awls for making stitching holes, and a sewing machine designed for leather. If you plan to do hand stitching, invest in strong needles and waxed thread. Finally, a hammer will help you set hardware like eyelets.
Designing Your Shoe
Creating a Design Plan
Before you start cutting leather, you should create a design plan. Sketch your shoe design, focusing on shape, style, and any specific features you want to include. Consider whether you want a classic oxford style, a casual loafer, or perhaps a rugged boot.
Think about the shoe’s purpose. Will you wear it for formal occasions, casual outings, or work? This decision will influence your design choices, including the type of leather, color, and any added features.
After sketching, create a pattern for your shoe. Use cardboard or paper to make templates for each part of the shoe: the upper, lining, and sole. Ensure each piece is the correct size and shape, as this will significantly affect the final product.
Choosing Colors and Finishes
Colors and finishes play a vital role in the overall aesthetic of your shoes. Natural leather has a beautiful, rich tone, but you can also dye it to match your vision. Consider using water-based dyes, which are safer and easier to work with than traditional dyes.
Experiment with color combinations. You might want to contrast the upper with the sole or add decorative stitching in a complementary color. Don’t be afraid to be creative; this is your chance to express your style.
Finishes also impact the shoe’s appearance. A high-gloss finish gives a formal look, while a matte finish is more casual. Experiment with different finishes on leather scraps to see what appeals to you.
Cutting the Leather
Preparing Your Workspace
A clean, organized workspace is essential for cutting leather. Gather all your tools and materials before you start. Ensure your cutting mat is flat and stable to provide a solid surface for cutting.
Lay out your patterns on the leather. Use weights to hold the patterns in place, preventing them from shifting as you cut. This step is crucial for accuracy. Double-check your measurements to avoid wasting materials.
Techniques for Cutting
When cutting leather, use a sharp knife or rotary cutter. Start with gentle pressure, allowing the blade to glide through the leather. Follow the lines of your pattern carefully, making sure to keep your cuts straight.
If your leather is thick, you may need to make multiple passes with the knife. Avoid applying too much pressure, as this can result in uneven edges. After cutting, check each piece for accuracy and make any necessary adjustments.
Handling Difficult Cuts
Some areas of your design may involve intricate cuts or curves. In these cases, use small, precise movements with your knife. For tight corners, an awl can help you make small holes to guide your cuts.
If you find it challenging to cut the leather cleanly, practice on scrap pieces. This practice will build your confidence and improve your technique before working on your actual shoe pieces.
Assembling the Shoe
Attaching the Upper and Lining
Once you have all your pieces cut, it’s time to assemble them. Start by attaching the lining to the upper. Align the edges carefully, making sure they match up. Use a strong adhesive or leather cement to secure the two pieces together.
Apply the adhesive evenly, and press the pieces firmly. Allow the glue to dry completely before moving on to the next step. This step is essential for ensuring that the lining stays in place and doesn’t shift during wear.
Stitching the Upper
Next, you will stitch the upper together. Use a sewing machine or hand stitch for this step. If you choose to hand stitch, use an awl to create evenly spaced holes along the edge of the leather. This technique will ensure that your stitches are consistent and neat.
Choose a strong thread that complements your leather. Begin stitching from one end of the upper, using a simple running stitch or a more decorative technique, depending on your design. Maintain even tension as you stitch to prevent puckering or loose stitches.
Attaching the Sole
After the upper is complete, it’s time to attach the sole. Align the upper with the sole, making sure they fit together snugly. Use adhesive to bond the two parts, and then apply clamps or weights to hold them together while the glue dries.
Once the adhesive is set, you can further secure the sole by stitching it. This step adds strength and durability to your shoes. Make sure your stitches are tight and evenly spaced around the entire perimeter of the sole.
Finishing Touches
Trimming and Shaping
After the shoe is fully assembled, trim any excess leather or threads. Use a sharp knife or scissors for a clean edge. Pay special attention to the seams; they should be neat and well-finished.
If necessary, shape the shoe using a shoehorn or by gently bending the leather. This step helps the shoe maintain its form and ensures a comfortable fit.
Polishing and Conditioning
To enhance the appearance of your leather shoes, apply a good quality leather conditioner. This step nourishes the leather, keeping it supple and preventing cracks. Use a soft cloth to apply the conditioner evenly.
After conditioning, polish the shoes to give them a shine. Choose a polish that matches your leather color. Apply it with a cloth, working it into the leather in circular motions. This step not only improves the look of your shoes but also adds a layer of protection.
Final Inspection
Finally, inspect your shoes for any imperfections. Check the stitching, alignment, and overall appearance. If you notice any flaws, take the time to correct them. This attention to detail can make a significant difference in the final product.
After your inspection, try on the shoes to ensure a proper fit. Walk around to test their comfort and adjust any areas as needed. This final check will help you identify any adjustments before you wear them out.
Caring for Your Leather Shoes
Regular Maintenance
Once your leather shoes are complete, proper care is essential for longevity. Regular maintenance will keep them looking great and extend their lifespan. Start by cleaning your shoes after each wear. Use a soft brush or cloth to remove dirt and dust.
If your shoes get wet, dry them at room temperature. Avoid direct heat sources, which can cause the leather to crack. Use a leather conditioner regularly to maintain suppleness and prevent drying.
Storage Tips
When not in use, store your leather shoes properly. Keep them in a cool, dry place away from direct sunlight. Consider using shoe trees to help maintain their shape. If you need to stack shoes, use dust bags to protect them from scratches.
Avoid cramming shoes into a tight space, as this can distort their shape. Proper storage is key to ensuring that your shoes remain in excellent condition for years to come.
Repairing Damages
Over time, your leather shoes may experience wear and tear. Addressing these issues promptly can prevent further damage. For minor scratches, use a leather repair kit to fill in gaps and restore the finish.
If stitching comes loose, re-stitch it using matching thread. For more significant repairs, consider taking your shoes to a professional cobbler. They can address structural issues and ensure your shoes remain wearable.
Conclusion
Crafting your own leather shoes is a rewarding endeavor. By understanding the materials, mastering the techniques, and applying care, you can create beautiful, durable footwear. This process not only allows for creativity but also provides a deeper appreciation for the art of shoemaking. Whether for personal use or as a hobby, the skills you develop will serve you well in your leatherworking journey.