Choosing the Right Leather Shoes for Painting
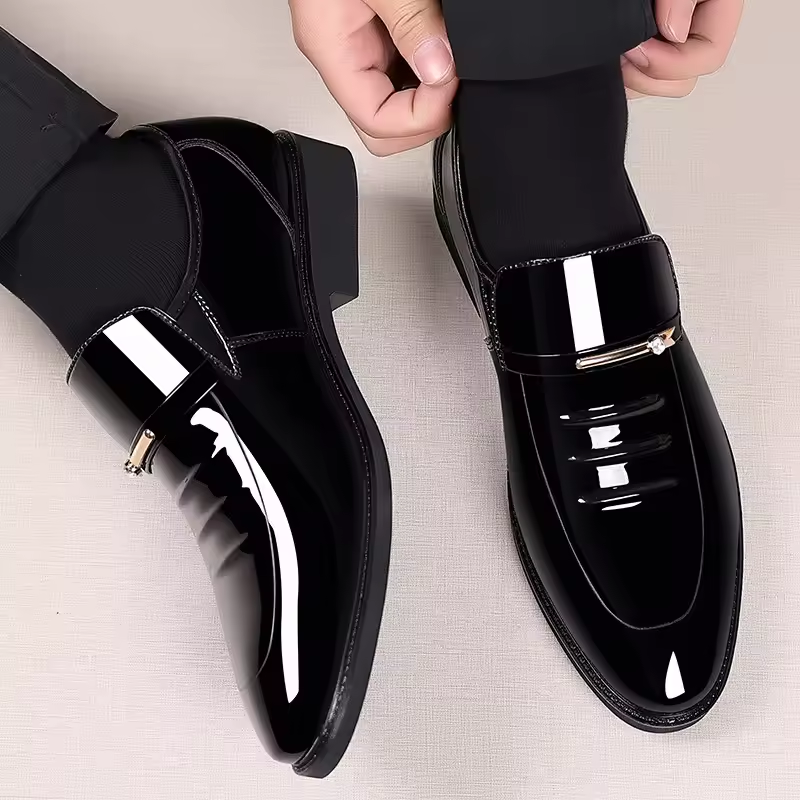
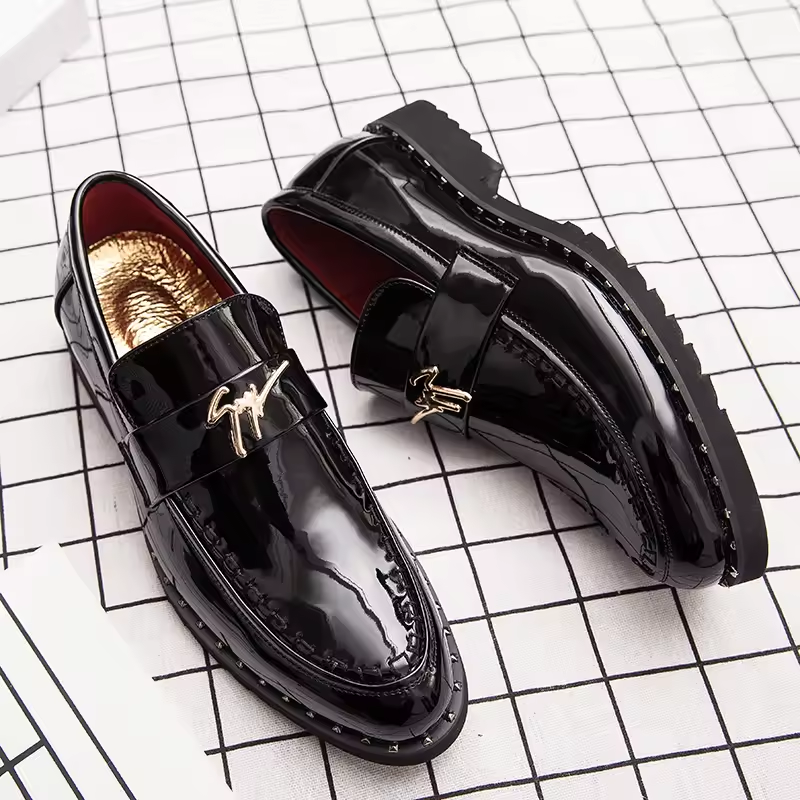
Choosing the right pair of leather shoes to paint is crucial. Here are some tips of painting leather shoes:
Criteria for Selecting Shoes
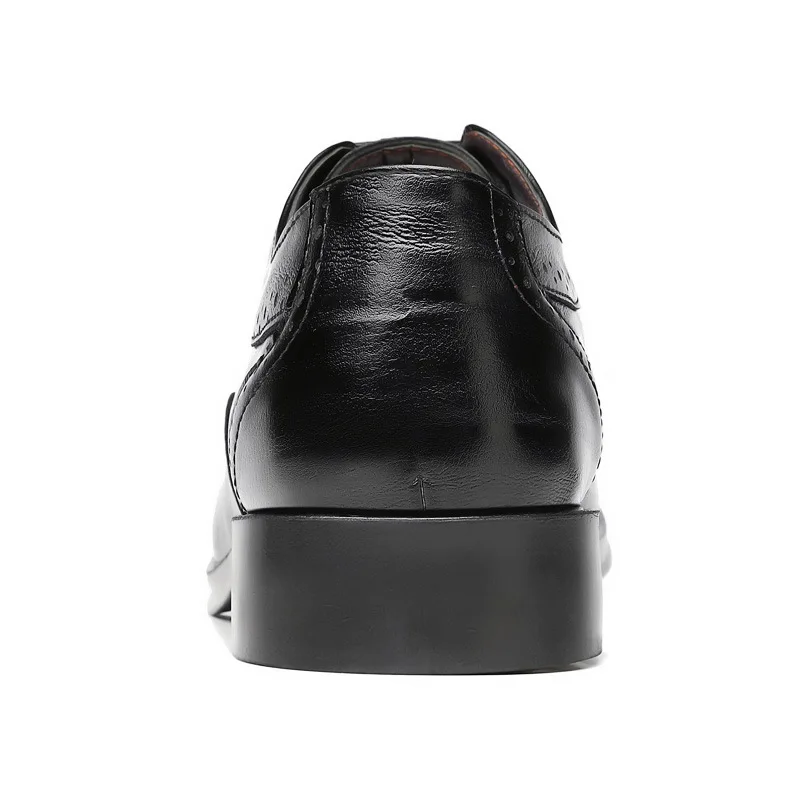
- Look for shoes with minimal stitching and seams, which makes painting easier.
- Choose shoes made from genuine leather, as it absorbs paint better than synthetic alternatives.
- Opt for shoes with a smooth surface; they provide a better canvas for your designs.
- Pick shoes in a light color if you plan to use bright paints for higher contrast.
Testing Leather Suitability for Painting
Before you begin, it’s important to test the leather’s compatibility with paint:
- Start by cleaning a small, inconspicuous area of the shoe.
- Apply a tiny amount of the paint you plan to use on this spot.
- Let it dry to see if the paint adheres well and maintains flexibility.
- Check for any negative reactions like color bleeding or cracking.
By carefully selecting and testing your shoes, you ensure a successful painting project.
Necessary Materials and Tools
To start painting leather shoes, gather all the necessary materials and tools.
List of Essential Supplies
Here’s a list of supplies you’ll need:
- Quality leather paints, like Angelus brand, for flexibility and durability.
- Leather preparer and deglazer to remove finish and oils.
- Paintbrushes in various sizes for detailed work.
- Cotton buds/Q-tips and wooden skewers for fine details.
- Acrylic finisher to protect your paint job.
- A pencil and eraser for sketching designs.
- A disposable sponge for applying the preparer.
- Isopropyl alcohol for cleaning leather.
Be mindful of paint fumes; work in a well-ventilated area.
Preparing Your Workspace
To prepare:
- Lay down a drop cloth or newspaper to protect surfaces from spills.
- Organize your paints and tools for easy access.
- Keep a lid on paint containers to prevent drying out.
- Have a clean-up station ready with soap and water.
Setting up a proper workspace will ensure a mess-free and efficient painting process.
Cleaning and Prepping the Shoes
Before you start painting, proper cleaning and prepping of the leather shoes are essential to ensure the best results.
Deep Cleaning Techniques
Start by removing laces and surface dirt using a soft brush. Wipe the shoes with a cloth dampened with isopropyl alcohol. This removes oils and grime that could prevent paint adherence. Let the shoes dry completely before proceeding.
Applying Deglazer and Preparer
Apply a small amount of leather deglazer to a sponge. Rub the sponge over the entire leather surface of the shoes. This removes the factory finish, making the leather more receptive to paint. Follow this by applying a leather preparer, which ensures the paint will stick. Use a clean sponge for the preparer and cover all areas evenly.
Designing Your Shoe Art
Creativity is key when designing your shoe art. Begin with an idea.
Sketching and Planning Designs
Grab a pencil and paper, and sketch out your designs first.
- Draw multiple sketches to refine your idea.
- Consider the shape and style of the shoes in your design.
- Use your eraser to correct and improve the sketch.
Once happy with the design, decide on colors and patterns.
Transferring Designs onto Leather
After sketching, it’s time to transfer your design onto the leather.
- Lightly trace your design onto the shoe with pencil.
- If you make mistakes, lightly erase them or use a Q-tip with some deglazer.
- Use the sketches as guides but be open to adjustments as you transfer.
This process takes patience, but offers a roadmap for painting your shoes exactly how you want them.
Painting Techniques for Leather Shoes
Applying Base Layers
To start painting your leather shoes, choose high-quality leather paints for the best adherence and flexibility. Here’s how you apply base layers:
- Shake your paint well before use to ensure it is thoroughly mixed.
- Use a fine brush or sponge to apply a thin, even coat of paint to the shoe’s surface.
- Allow each layer to dry completely before applying the next. This can take from a few minutes to an hour, depending on the paint type and room temperature.
- Apply 2-4 thin coats, depending on the needed opacity and the paint’s coverage quality.
Ensuring each layer is thin and well-dried will result in a smoother finish and prevent the paint from cracking later.
Adding Details and Textures
After the base layers have dried, you can start adding detailed designs and textures. This step allows you to personalize your shoes and bring your designs to life:
- Use smaller brushes for fine lines and details.
- Employ stencils or masking tape to create sharp lines or patterns.
- For texture, experiment with sponges or crumpled paper dabbed in paint.
- To mix colors directly on the shoe, apply a lighter color first as a base, then blend in darker tones while wet.
As you add details, regularly step back to review your work to ensure consistency and symmetry when needed. Patience is essential in this stage to allow layers to dry and to fix any mistakes with precision.
Applying Finishes to Painted Shoes
Once your painted leather shoes are dry and the design is set, it’s crucial to seal them correctly.
Selecting the Right Finisher
Choosing an appropriate finisher is key to protecting your art.
- Opt for a finisher compatible with leather, as it will help maintain the paint’s durability.
- Acrylic finishers are preferred for their flexible properties, and they don’t crack easily.
- Matte, glossy, and satin finishers are available. Decide based on your desired sheen.
Techniques for Applying Finisher Evenly
Proper application techniques ensure a smooth finish and protection.
- Apply the finisher in thin, even coats using a clean brush or sponge.
- Allow the finisher to dry completely between coats.
- Usually, two to three coats are sufficient.
- Move the applicator in one direction to avoid streaks.
By finishing your painted shoes correctly, you extend the life of your art and wear them proudly.
Caring for Painted Leather Shoes
Taking care of your painted leather shoes is crucial for maintaining their appearance and longevity.
Routine Maintenance Tips
To keep your painted shoes in top condition, follow these simple maintenance tips:
- Regularly clean the shoes with a soft, dry cloth to remove dust.
- Avoid using wet cloths or harsh cleaning agents, as they can damage the paint.
- Store the shoes away from direct sunlight to prevent the color from fading.
- If the shoes get wet, allow them to dry naturally away from heat sources.
- For deeper cleaning, use a mild, leather-friendly cleaner applied with a soft brush.
- Apply a small amount of leather conditioner every few months to keep the leather supple.
Taking these steps will help preserve the paint and the leather, keeping your shoes looking new.
Long-Term Storage Advice
When storing painted leather shoes for long periods, consider the following advice:
- Choose a cool, dry place away from direct sunlight for storage.
- Stuff the shoes with acid-free paper to help retain their shape.
- Avoid wrapping the shoes in plastic, as this can trap moisture and cause damage.
- If using a shoe box for storage, ensure it is clean and dry before placing the shoes inside.
- Consider using silica gel packets in the storage area to absorb any excess moisture.
By following these storage tips, you can ensure your painted leather shoes remain in excellent condition, ready for their next outing.
