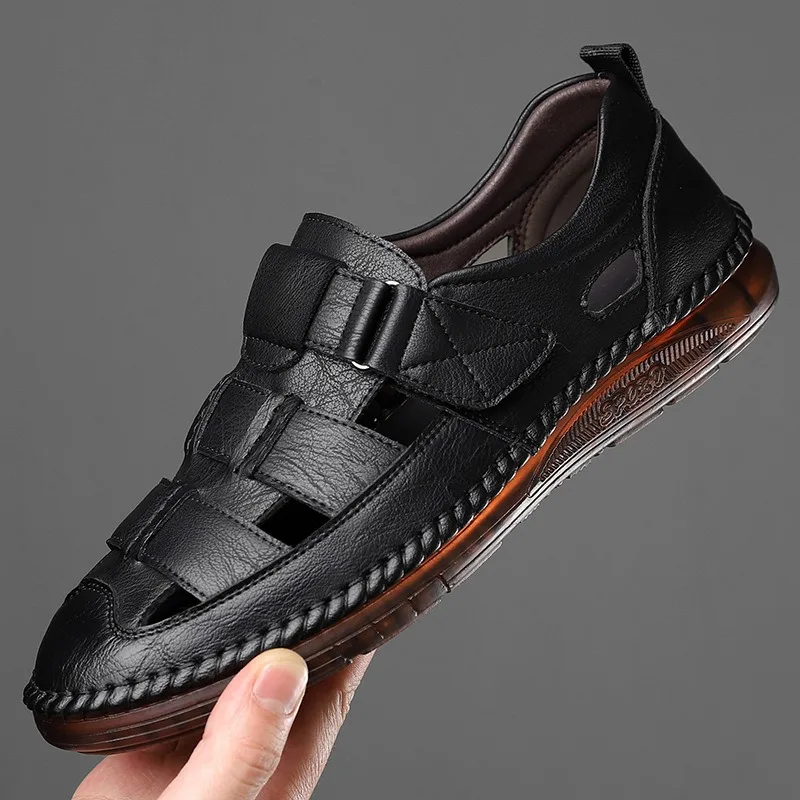
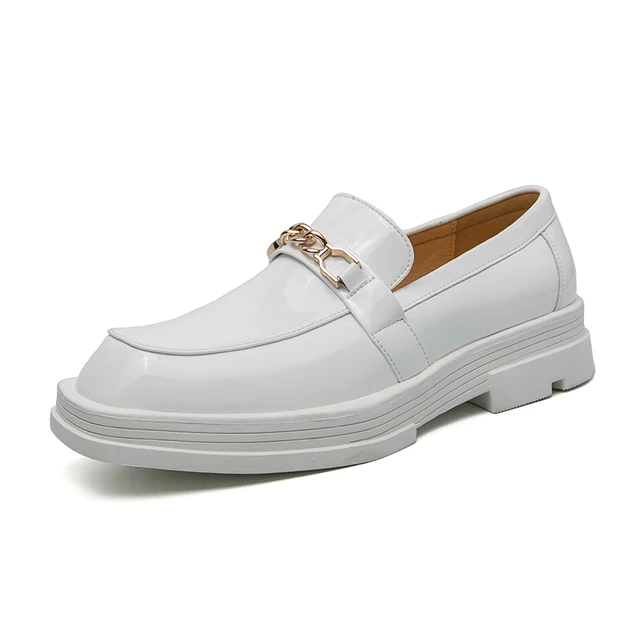
Leather shoes are a timeless investment, providing style and durability. However, over time, wear and tear can lead to cracks in the leather. How to fix cracked leather shoes? While this may seem alarming, fixing cracked leather shoes is a manageable task. With the right techniques, tools, and care, you can restore their beauty and extend their lifespan.
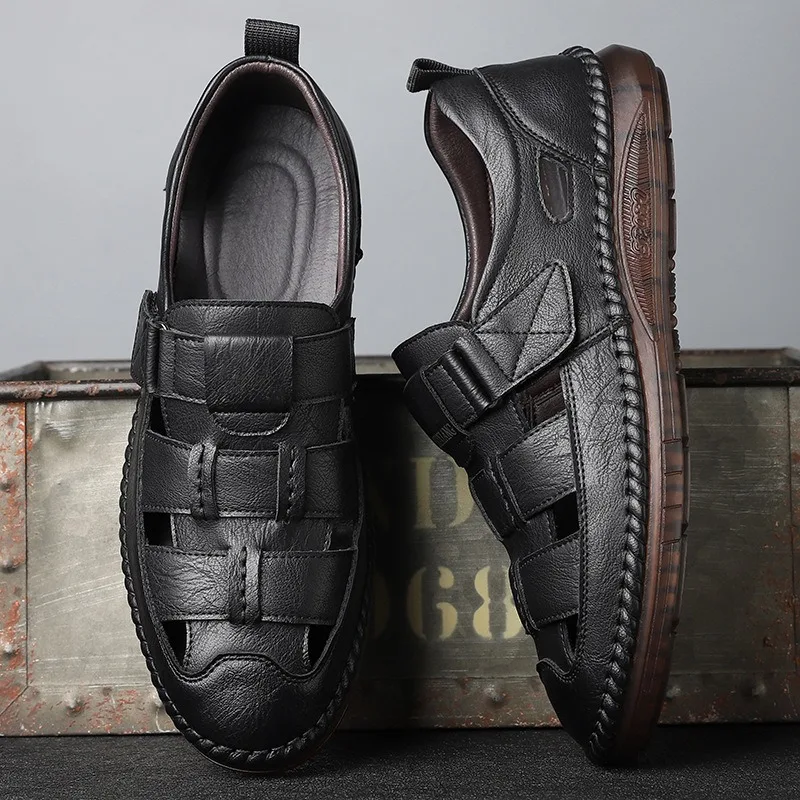
Understanding Leather and Its Cracking
To fix cracked leather shoes effectively, it’s essential to understand why leather cracks in the first place. Leather is a natural material made from animal hides. While it is known for its strength, it can lose moisture over time. Factors like poor maintenance, exposure to extreme weather conditions, and lack of proper storage lead to dryness and eventually cracking.
Why Does Leather Crack?
Leather, like skin, needs moisture. When it loses this moisture, it starts to dry out and stiffen. This process can create cracks, much like how dry skin can crack in winter. Changes in humidity can exacerbate this issue. If your shoes are exposed to high humidity, they may become over-moisturized, leading to mold. Conversely, cold and dry environments can strip the leather of its natural oils.
Neglecting routine maintenance also contributes to cracking. Shoes need conditioning, just like any leather item. They require regular cleaning and moisturizing to stay supple. If you don’t take care of them, small cracks can develop into larger fissures.
Additionally, poor quality leather can crack more readily compared to higher-quality options. Cheaper leather often has fewer oils and more fillers, making it less durable. Keeping these factors in mind can help you understand your shoes better and prevent future cracking.
Assessing the Damage
Before diving into the repair process, it’s vital to assess the damage. Not all cracks require the same treatment. Identifying the type of crack – superficial or deep – will help determine your approach.
Types of Cracks in Leather
Superficial cracks are small and often only affect the leather’s finish. They may look like tiny lines and might not compromise the shoe’s overall integrity. These cracks can generally be repaired with conditioning and polishing.
In contrast, deep cracks can reach into the layers of leather underneath. They might cause additional issues, such as reduced durability or even structural problems. If the cracks are extensive, you could also consider whether a professional repair is necessary.
Take a close look at your shoes. Search for areas where the leather is dull or light in color, as this often indicates dryness. If you notice any discoloration or peeling, take these signs seriously as they could point to more extensive damage.
Creating a list of the visible cracks, their locations, and their sizes can be helpful. This assessment will guide your repair method and give you a clearer picture of what to expect in the process.
Essential Tools for Repair
Once you’ve assessed the damage, it’s time to gather your tools. The right supplies can make a significant difference in the effectiveness of your repair.
Items You Will Need
- Leather Cleaner: Start with a high-quality leather cleaner to remove dirt and grime. Look for a product pH-balanced specifically for leather.
- Soft Cloths: Use these for cleaning, applying conditioner, and polishing the shoes. Microfiber cloths work best as they are gentle on the leather.
- Leather Conditioner: This is crucial for hydrating the leather. Choose a conditioner that contains natural oils to nourish the material.
- Leather Filler or Glue: For deeper cracks, a leather filler can help fill gaps. You’ll find different products, including color-matched options that blend well with shoes.
- Polish or Dye: If the cracks have caused discoloration, a leather polish or dye can restore its original look.
- Sponge or Brush: Use these for applying cleaner and conditioner. Brushes can help work products into the surface effectively.
Having these items on hand will ensure that you can promptly address any issues and keep your leather shoes looking their best.
Cleaning Your Leather Shoes
Before you start repairing the cracks, the first step is thorough cleaning. This not only helps in making the repair process effective but also sets the foundation for conditioning the leather.
Step-by-Step Cleaning Process
- Remove Laces and Accessories: Start by taking off any shoelaces or removable parts from the shoes. These can get in the way of cleaning and may get damaged.
- Apply Leather Cleaner: Pour a small amount of the leather cleaner onto your soft cloth or sponge. Work it into the leather using gentle circular motions.
- Be Thorough: Ensure that you cover all areas of the shoe, including the seams and edges, as these can harbor dirt. Use a soft brush or an old toothbrush for tough spots.
- Wipe Off Excess Cleaner: After cleaning, use a damp cloth to wipe away any residue. Make sure not to oversaturate the leather.
- Dry the Shoes: Allow them to air dry completely but keep them out of direct sunlight to prevent further drying.
Now that your shoes are clean, they will be ready for conditioning, which is essential for preventing future cracking.
Conditioning the Leather
Conditioning your leather shoes is a critical step in maintaining their suppleness. It replaces the oils that the leather loses over time and helps in preventing future cracks.
Step-by-Step Conditioning Process
- Choose a Good Conditioner: Look for a leather conditioner that specifically suits your type of leather. Always read the labels for compatibility.
- Apply the Conditioner: Use a clean cloth or sponge to apply the conditioner evenly across the surface of the leather. Use circular motions to work the product in.
- Pay Attention to Cracks: Focus on areas with cracks. Working the conditioner into the cracks helps in hydrating the leather material.
- Let It Soak: Allow the conditioner to sit for a specific time as per the product instructions. This lets the leather absorb it thoroughly.
- Wipe Off Excess: After the recommended time, use a dry cloth to wipe off any excess conditioner.
- Repeat If Necessary: In case the leather still appears dry, consider applying a second round of conditioner.
Consistent conditioning can prolong the life of your leather shoes. Make it part of your shoe care routine to maintain their condition over time.
Repairing Cracks in Leather Shoes
Now comes the most crucial phase: repairing the cracks. This step requires patience and precision, especially if the cracks are deep.
Step-by-Step Crack Repair Process
- Assess the Depth of Cracks: Identify whether you will need to use a filler or if you can get away with simply conditioning.
- For Superficial Cracks: If the cracks are minor, apply more leather conditioner directly to the cracks using your fingertip or a small brush.
- For Deep Cracks: Use a leather filler. Squeeze a small amount into a bowl or on a surface. Apply it directly into the crack, ensuring you fill it completely.
- Smooth the Surface: Use a small spatula or your finger to smooth the filler over the crack. Make sure it adheres well to the surrounding leather.
- Let It Dry: Allow the filler to dry thoroughly, according to the product instructions.
- Polish or Dye (if necessary): Once dry, use leather polish or dye to restore the color and sheen of the repaired area.
- Buff the Area: After the polish dries, use a soft cloth to buff the area gently.
These steps will help in reviving the look and feel of your shoes. Regular maintenance afterward will ensure they last for years.
Polishing and Final Touches
Once you have completed the repair process, polishing the shoes can provide a finishing touch. A good polish adds shine and can protect the leather further.
Step-by-Step Polishing Process
- Select a Suitable Polish: Choose a polish that matches the color of your leather shoes. There are cream or wax polishes, so decide based on your preference.
- Apply with a Soft Cloth: Use a new soft cloth to apply a small amount of polish to the surface. Work in small sections.
- Use Circular Motions: Apply the polish using circular motions, working it into the leather while covering all areas evenly.
- Allow It to Dry: Let the polish sit for a few minutes to allow it to set properly.
- Buff It Away: Use a clean, dry cloth to buff the surface to a shine.
- Final Inspection: Take a good look at the shoes to ensure you have achieved the desired result.
Polishing not only enhances the appearance but also adds a layer of protection against stains and moisture.
Preventing Future Cracks
You’ve done a great job reviving your cracked leather shoes, but prevention is the key to longevity. Taking proactive measures can ensure your shoes remain in top condition.
Tips for Ongoing Care
- Regular Cleaning: Establish a cleaning routine. Clean your shoes after every few uses, especially if you wear them in dirty or wet environments.
- Frequent Conditioning: Use leather conditioner regularly, usually every couple of months or more often in dry conditions.
- Proper Storage: When not in use, store your shoes in a cool, dry place. Use shoe trees or stuff them with newspaper to maintain their shape.
- Avoid Excessive Water: While leather is durable, excessive exposure to water can lead to problems. If they get wet, dry them naturally away from heat sources.
- Rotate Your Shoes: If possible, avoid wearing the same pair daily. Rotating shoes allows them to recover and maintain their original form.
By following these simple tips, your leather shoes will not only look good but will also go the distance.
Conclusion: Love Your Leather
Taking care of leather shoes might seem labor-intensive, but the time you invest pays off in the long run. By understanding, repairing, and maintaining your leather shoes, you can ensure they remain stylish and functional for years.
Your efforts in repairing those cracked leather shoes can save you money and keep you looking sharp. So, roll up your sleeves, gather your materials, and give your shoes the care they deserve.
